Android Data Recovery
How to Install Android USB Driver on Windows Computer
-- Sunday, June 08, 2014
Note: If your phone is one of ADP, the Android Developer Phones, such as Nexus One and Nexus S, you need Google USB Driver rather than installing an original equipment manufacturers driver.
The Galaxy Nexus driver, however, is distributed by Samsung (listed as model SCH-I515).
Once you have downloaded your USB driver, install or upgrade it as what the tutorial told you to. Based on your version of Windows and whether you're installing for the first time or upgrading an existing driver.
Be cautious that you may make changes to android_winusb.inf file found inside usb_driver\ (for example, to add support for other devices), however, the system will remind you when you are installing or upgrading. Making other changes to the driver files may break the installation process somehow.
Install USB Driver on Windows 7
If it is the first time for you to install Android USB driver on Windows 7, you are required to connect your Android-powered device to your computer’ USB port.1. Right click “Computer” and select “Manage”.
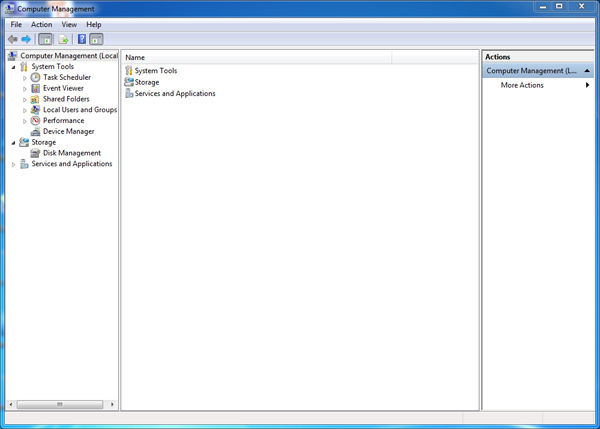
2. Select Devices in the left pane.

3. Locate and expand other device in the right pane.
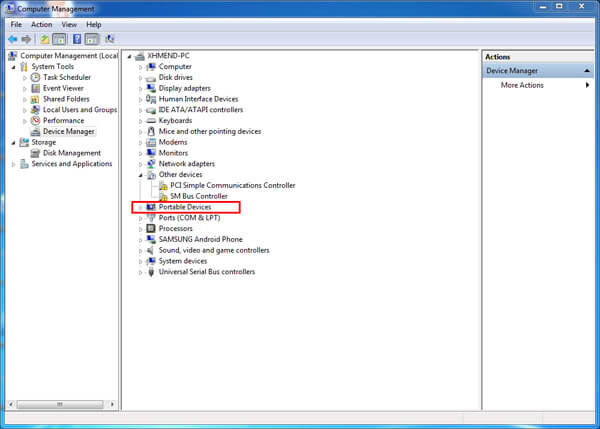
4. Right-click the device name (such as Jasmine) and select Update Driver Software. This will launch the Hardware Update Wizard.
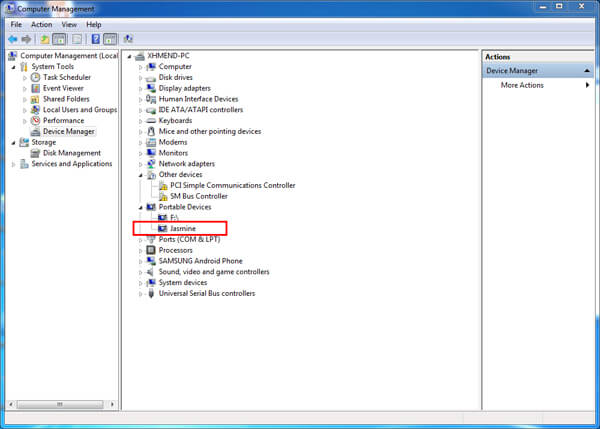
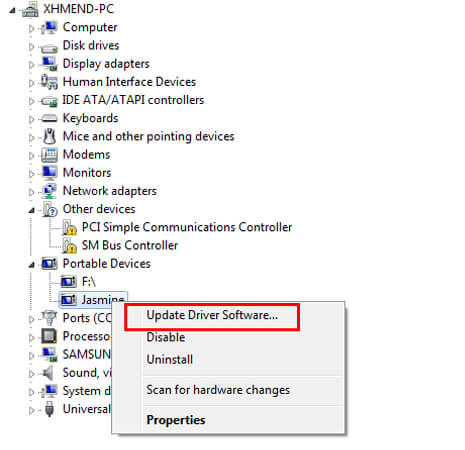
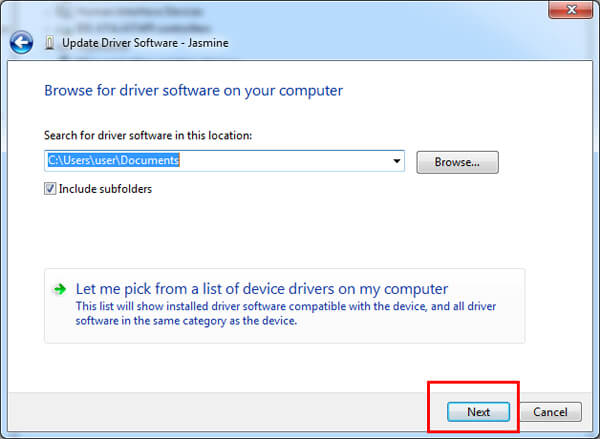
5. Select Browse my computer for driver software and click Next.
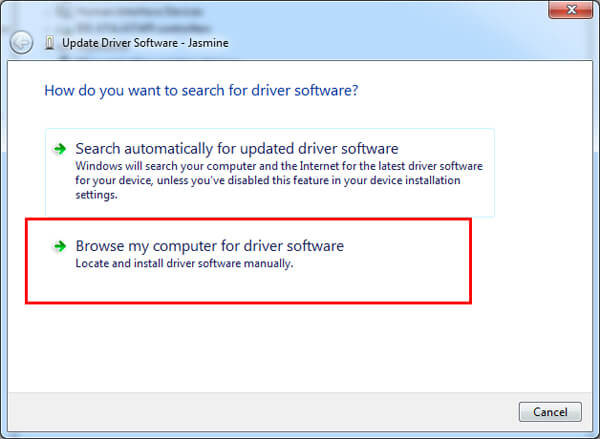
6. Click Browse and locate the USB driver folder. (The Google USB Driver is located in \extras\google\usb_driver\.)
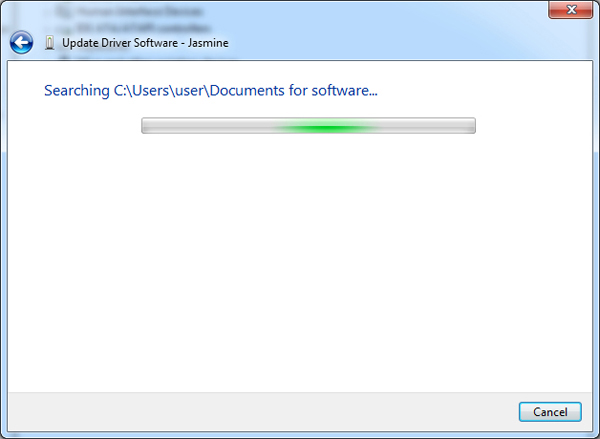
7. Click Next to install the driver.
Note: You can upgrade the existing Android USB driver on Window 7 with the new driver as well.
1. Connect your Android device to your computer's USB port.
2. Right-click on Computer from your desktop and select Manage.
3. Select Device Manager in the left pane of the “Computer Management” window.
4. Locate and expand Android Phone in the right pane.
5. Right-click Android Composite ADB Interface and select Update Driver. This will launch the Hardware Update Wizard.
6. Select Install from a list or specific location and click Next.
7. Select Search for the best driver in these locations; un-check Search removable media; and check “Include this location in the search”.
8. Click Browse and locate the USB driver folder. (The Google USB Driver is located in \extras\google\usb_driver\.)
Click Next to upgrade the driver.
That’s it, with the tutorial above, you have your Android USB driver installed on your Windows 7 easily without too much worrying.


