Android Data Recovery
How to Downgrade Android O Beta to Nougat
-- Monday, July 24, 2017
Easy Process to Downgrade Android O to Nougat
If you install Android O to Nexus/Pixel before with factory image, then, you can also roll back your phone from Android O to Nougat 7.0 with the same process.Note: To flash a new system image will delete all data from your Nexus or Pixel. Make sure that you backup your phone in advance.
Step 1 Download Android Nougat Image on PC
Find and download the right system image that matches your device in the website, unzip it and save it to the computer.
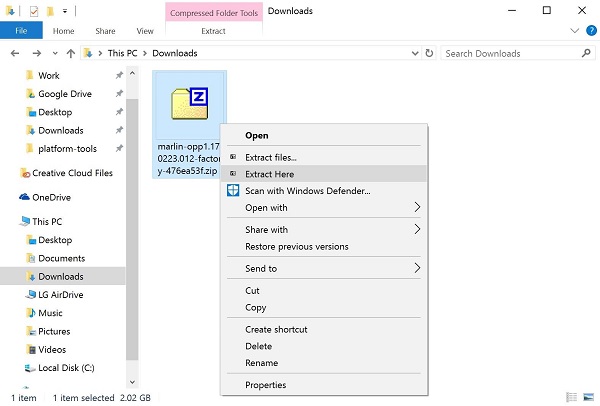
Step 2 Connect Nexus to Computer with USB Cable
Enable USB debugging on your phone and connect it the computer via USB cable.
Step 3 Start Device in Fastboot Mode with ADB Tool
Download, unpack and open SDK Platfrom-Tools folder. Hold the Shift key and right-click the empty place in the folder, click "open command window here" option. Execute "adb devices" in the cmd window. If connected, your device name will be shown.
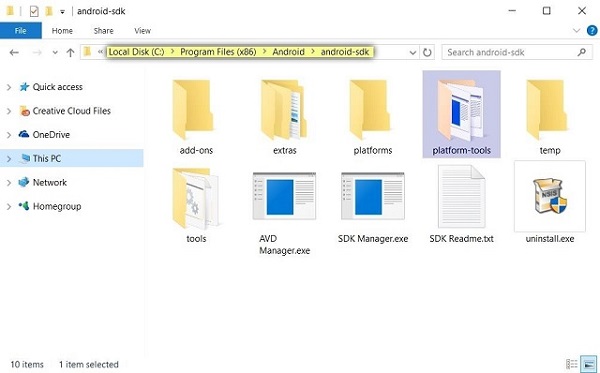
Step 4 Move Android 7.0 System Image to Platform-Tools
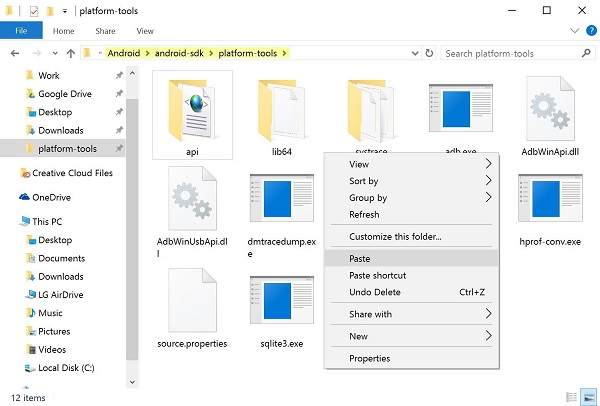
Copy and paste all files in the extracted Nougat image folders that you unzip in the Step 1 into the platform-tool folder. For Windows users, you can find the folder according to the path here: \Program Files (x86)\Android\android-sdk\.
Step 5 Unlock Bootloader on Android
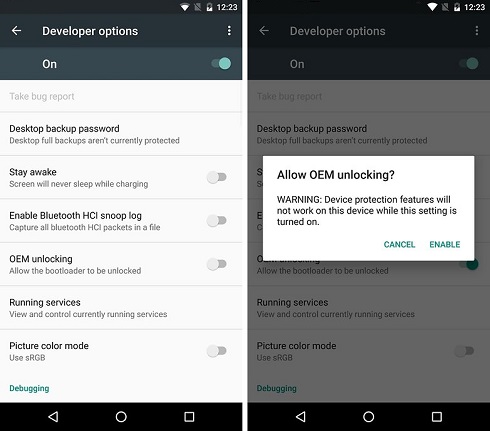
In settings, ativate Developer options and enable OEM unlocking.
Note: If OEM unlocking is disabled, connect to the Internet so that the device can check in at least once. If it doesn’t work, your device may be SIM locked by your carrier and the bootloader can not be unlock. Check how to remove SIM card lock.
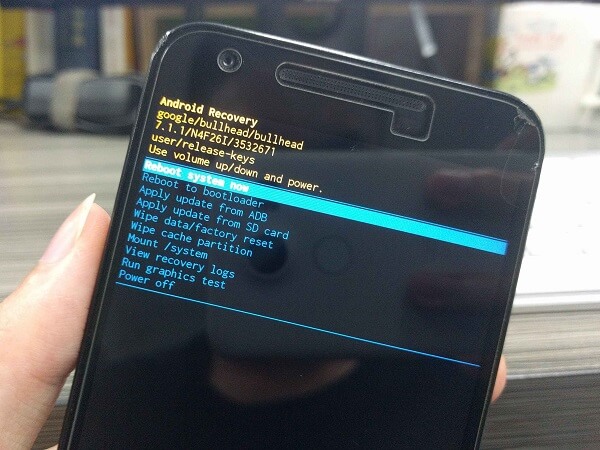
Reboot Nexus into bootloader mode according to the instruction: power off the device > press and hold volume- button and power button > confirm reboot to bootloader.
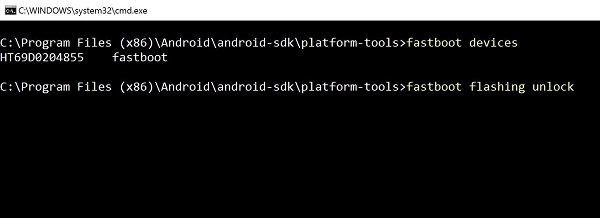
Head to platform-tools folder and run the command window. For new devices (2015 or later), type in "fastboot flashing unlock". For older devices (2014 or earlier), input "fastboot oem unlock". Then, there will be an message shown on your phone screen. Tap to confirm that all data will be deleted from your device.
Step 6 Flash Android Nougat to Nexus/Pixel
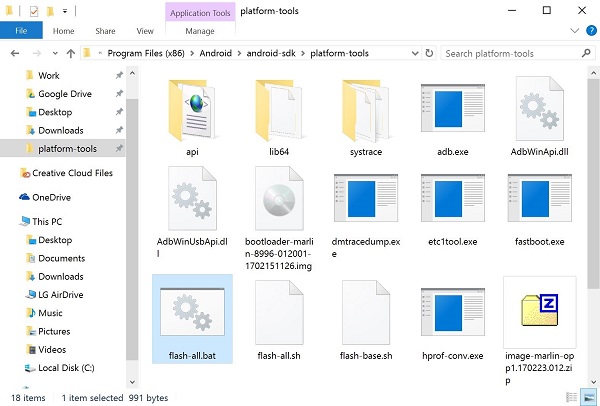
Execute the "flash-all" script in the platform-tools folder. And the new bootloader, baseband firmware(s) and Android 7.0 system files will be installing in your Nexus phone. Your device will reboots when the process finishes.
Then, you should lock your phone bootloader again for safety. Reboot your phone to bootloader mode and excute "fastboot flashing lock" for newer devices or "fastbook oem lock" for older devices in the cmd window. Lock bootloader will also wipe data from phone.
In a flash, your phone rolled back to Android 7.0. Now you can restore the backup files to your Nexus/Pixel. If you have any question on the process above, please leave your comment below.


